Download the free JSON validator command-line tool

You are not only looking for the best JSON editor for data files and JSON schemas? You are working on a Windows system and you need to quickly validate one or multiple JSON data files from the command-line? Then you should try the free JSON validator command-line tool for Windows from json-buddy.com.

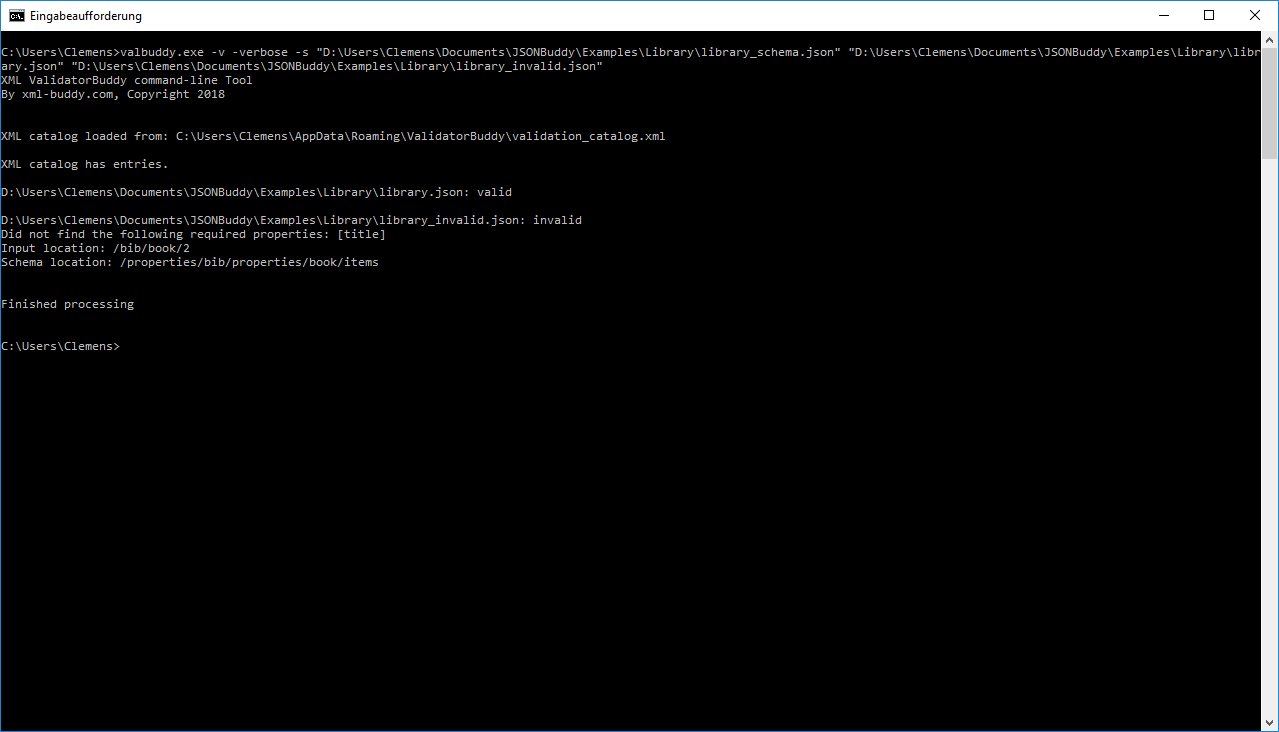
  • Check one or multiple JSON documents against a JSON schema with a single line from the Windows shell.
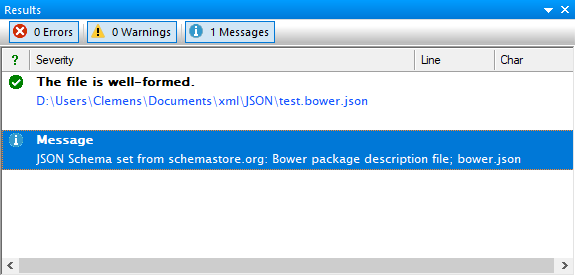
  • Get a comprehensive validation report with a detailed error message and full location information as JSONPointer.
  • Support for the popular JSON Schema draft 4, draft 6 and draft 7 (Update: Support for draft 2019-09 was added in the meantime).
  • Easy to use installer package. No additional configuration is required.
  • Free for commercial and personal use. Just request a free license after the 14-day evaluation period.
Sample validation output in the console window.

Please note that the tool also supports XML validation against a W3C schema. To get a complete list of switches, execute valbuddy.exe from the installation folder without any parameters.

Enhanced batch validation using a configuration file for simple folder validation and log file creation requires a license for JSONBuddy or XML ValidatorBuddy.

Convert JSON to CSV: Generate pointer/value pairs from your data

JSONBuddy already supports converting JSON data to CSV (and also back from CSV to JSON…). You can learn more about the standard JSON to CSV dialog on the help pages. Starting with JSONBuddy 5, there is a new way to generate CSV output from JSON input in the editor: The “Convert JSON to pointer/value pairs” command.

To illustrate this method, we take the following JSON input as an example:

library.json from the example files coming with JSONBuddy

And we use the “JSON | Convert JSON to pointer/value pairs” command from the editor, which is applied to the active document, to get the following CSV output:

CSV output from library.json

This CSV output contains all the data from the JSON input to create the original JSON structure again.

  1. The left column is the JSONPointer where the actual value is located. The pointers contain the objects, arrays and property name information of the JSON input.
  2. The right column is the JSON value. This also means the number of lines in the CSV output equals the number of single JSON values in the input data.

Of course, you can edit and save the CSV data in the JSON editor and take it as input to other tools like Excel.

JSON editor in a nutshell: How to assign a JSON schema

The JSON schema specification defines no way to assign a schema to a JSON data file. The schema used for validation is either set by the application or by any meta-data like transmission headers or even filename patterns. As an editor for JSON schema, JSONBuddy needs to support methods to assign a JSON schema to the JSON data you are currently working on. Here are some ways to set the schema for your data:

Assign a local schema file using the “Quick associations” pane

The most straightforward way is to use the “Quick associations” pane of the editor to select a local JSON schema file from disk for the current document. This assignment is saved and restored the next time you open the instance in the JSON editor.

Open a JSON schema from schemastore.org and automatically generate sample data

This method is explained in more detail in this article. You can use the “Open from JSON schema library…” dialog in the editor to automatically generate sample data from any schema available at schemastore.org. The schema is also assigned to the generated JSON instance.

The file-name is matching a specific pattern

A lot of entries in the JSON schema library available at schemastore.org are also defining a file-name pattern which is used to load a schema from the library to validate the JSON data. For example, if you load a JSON document with the name “test.bower.json” the data is recognized as “Bower package description file” and you get the following message in the results window of the editor:

Automatically assigned Bower schema from schemastore.org

Generate sample data from any JSON schema

As a quick way to get a JSON instance from any schema use the command to generate sample JSON data. This way a new document is created in the editor and the source schema is also assigned in a single step.

JSON schema editor with $ref resolving

Being able to navigate quickly and conveniently in your JSON schema can make a big difference while you are working on your schema definitions. Here is a sample screen-shot directly from the JSON schema editor environment of JSONBuddy of the “Unity Assembly Definition” schema available at schemastore.org:

The editor resolves the target locations of all $ref keywords in the current schema and displays them as active links. The resolved JSON pointer and the path to the schema are shown as part of the info window if you move the mouse over the reference.

You get instant feedback if the $ref value can be resolved together with the target location and you save time by clicking the link if you need to take a closer look at the schema node.

Amazing navigation features

Hold down the Control key and left-click on the link to jump directly to the resolved JSON schema node.

An additional tip to quickly navigate in the JSON schema editor: Use the Navigation-history back shortcut “Control-Shift-,” to jump back immediately to the $ref keyword.

Altogether some outstanding enhancements for the JSON schema editor.