The JSON schema specification defines no way to assign a schema to a JSON data file. The schema used for validation is either set by the application or by any meta-data like transmission headers or even filename patterns. As an editor for JSON schema, JSONBuddy needs to support methods to assign a JSON schema to the JSON data you are currently working on. Here are some ways to set the schema for your data:
Assign a local schema file using the “Quick associations” pane
The most straightforward way is to use the “Quick associations” pane of the editor to select a local JSON schema file from disk for the current document. This assignment is saved and restored the next time you open the instance in the JSON editor.
Open a JSON schema from schemastore.org and automatically generate sample data
This method is explained in more detail in this article. You can use the “Open from JSON schema library…” dialog in the editor to automatically generate sample data from any schema available at schemastore.org. The schema is also assigned to the generated JSON instance.
The file-name is matching a specific pattern
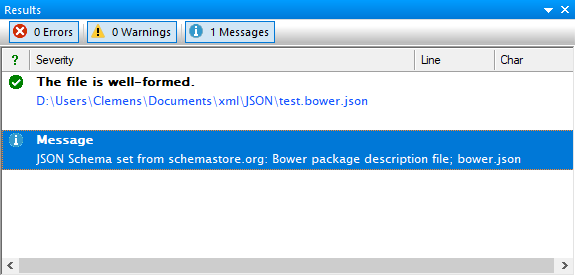
A lot of entries in the JSON schema library available at schemastore.org are also defining a file-name pattern which is used to load a schema from the library to validate the JSON data. For example, if you load a JSON document with the name “test.bower.json” the data is recognized as “Bower package description file” and you get the following message in the results window of the editor:
Generate sample data from any JSON schema
As a quick way to get a JSON instance from any schema use the command to generate sample JSON data. This way a new document is created in the editor and the source schema is also assigned in a single step.